
Qt and QML maps
Introduction
One of the largest departments at our company is developing C++ applications with the help of the well-known Qt library. Most of our applications are based on QWidget classes and UI design. However, recently we have been faced with the problem of incorporating and using QML classes and components.
QML (Qt Modeling Language) is a user interface markup language. It is a declarative language (similar to CSS and JSON) for designing user interface-centric applications. Inline JavaScript code handles imperative aspects. It is associated with Qt Quick, the UI creation kit originally developed by Nokia within the Qt framework. Qt Quick is used for mobile applications where touch input, fluid animations and user experience are crucial. A QML document describes a hierarchical object tree. QML modules shipped with Qt include primitive graphical building blocks (e.g., Rectangle, Image), modeling components (e.g., FolderListModel, XmlListModel), behavioral components (e.g., TapHandler, DragHandler, State, Transition, Animation), and more complex controls (e.g., Button, Slider, Drawer, Menu). These elements can be combined to build components ranging in complexity from simple buttons and sliders, to complete internet-enabled programs.
QML elements can be augmented by standard JavaScript both inline and via included .js files. Elements can also be seamlessly integrated and extended by C++ components using the Qt framework.https://en.wikipedia.org/wiki/QML
We utilized QML in a slightly unusual role: instead of making a GUI, we used it for working with maps.
Let’s take a look at the main technical points and methods that we used. Here we are going to demonstrate some examples and fundamentals for the interaction between our Qt code and QML objects.
Where to store
QML classes and functions are conventionally stored in files with the .qml extension. They can be placed either next to the program or somewhere on your server. You can load them over the network. We embed our QMLs directly into resources. That is, they are embedded in the executable file and cannot be tampered with.
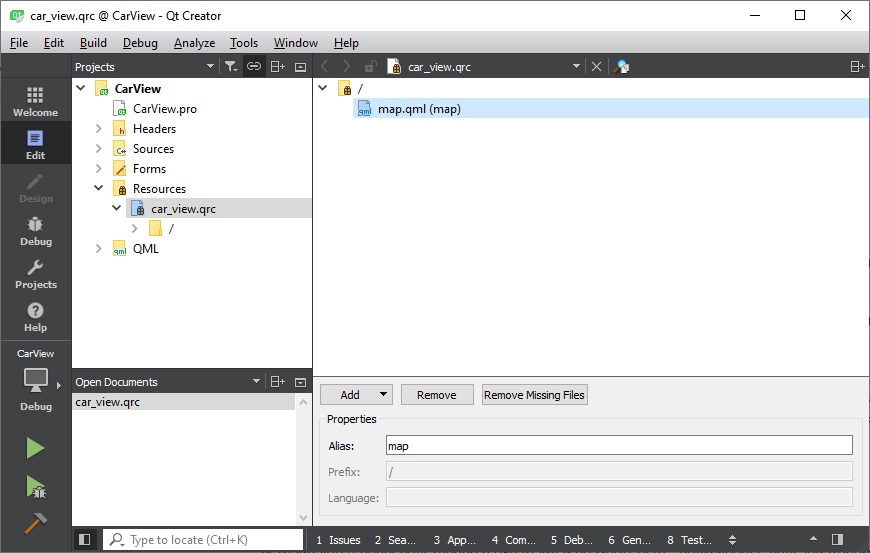
To load such a “.qml”, use the following string: setSource(QUrl::fromLocalFile(“:/map”))
How to embed
In the beginning, we needed to embed a QML viewer into one of the windows in our application. We used the following code:
_qml_view = new QQuickView();

QWidget* container = QWidget::createWindowContainer(_qml_view, this);

container->setSizePolicy(QSizePolicy::Expanding, QSizePolicy::Expanding);

_ui->qml_canvas_layout->addWidget(container);

_qml_view->setSource(QUrl::fromLocalFile(":/map"));
Let’s take a look at a very simple example of QML object:
import QtQuick 2.0


Rectangle {

   id: main

   color: "#FF0000"

}
One cannot see anything here until we specify the dimensions for the rectangle. After we add the width and height attributes, we get something like this:
import QtQuick 2.0
import QtQuick 2.0


Rectangle {

id: main

color: "#FF0000"

width: 200

height: 100

}
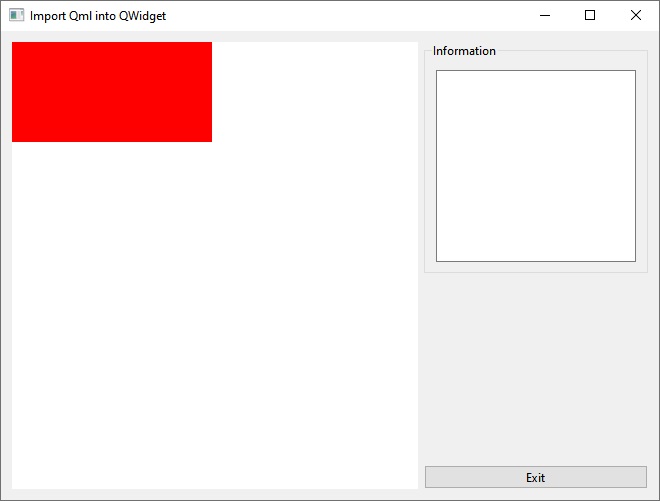
Bingo! A simple example has worked out all right. Now we would like to extend this “backdrop” of our future component to make it fit the entire area. After all, our QMainWidget window can dynamically change its size, which means the size of the area allocated for the QML object will change as well. This is where the parent component attributes come to our rescue.
import QtQuick 2.0
import QtQuick 2.0


Rectangle {

id: main

color: "#FF0000"

width: parent.width

height: parent.height

}
Excellent! That’s what we need!
Map plugin
QML can encompass various preformed libraries in the form of plugins. In our case, we are using a map show plugin built into the Qt library.
import QtQuick 2.0

import QtLocation 5.11

import QtPositioning 5.11


Rectangle {

id: main

width: parent.width

height: parent.height


Plugin {

id: mapPlugin

name: "esri"

}


Map {

id: mapView

objectName: “mapView”

anchors.fill: parent

plugin: mapPlugin

center: QtPositioning.coordinate(59.9386, 30.3141)

zoomLevel: 15

}

}
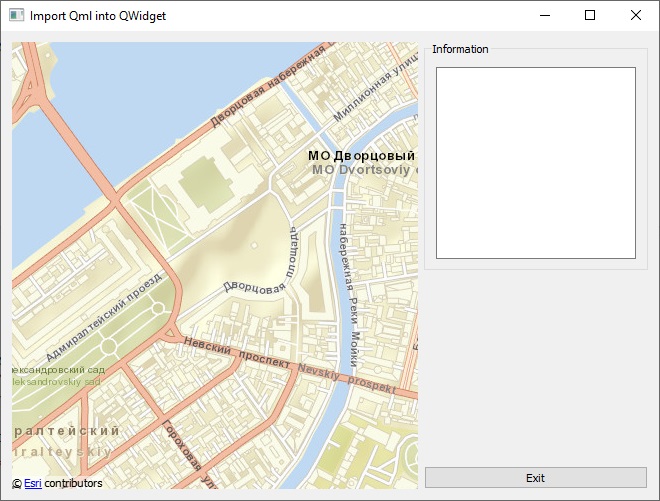
Now it is possible to interact with this QML object.
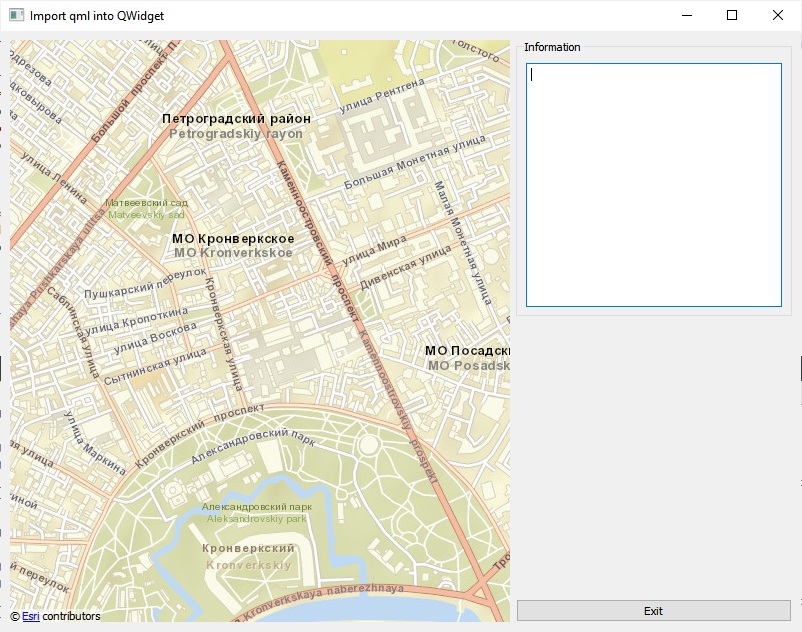
How we can handle the map
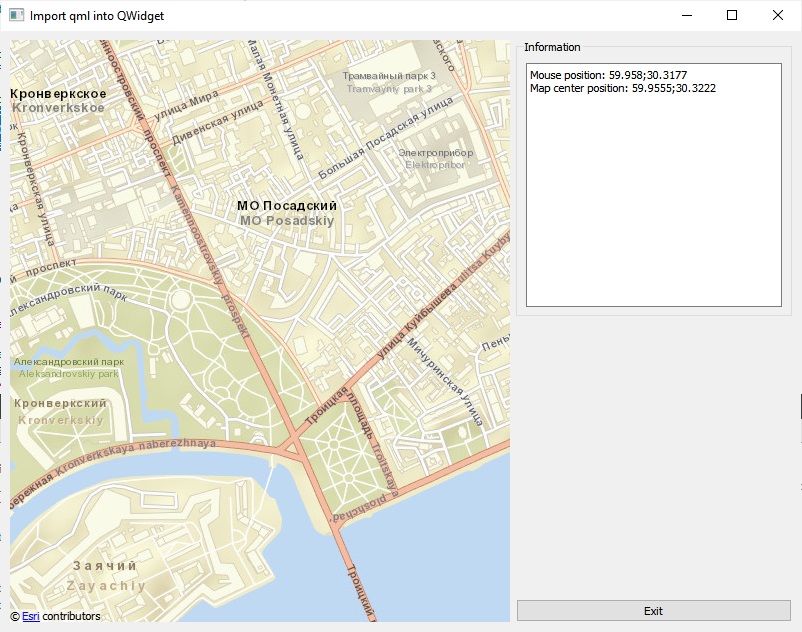
We can read the parameters of the map and change them at our choice. Below is a sample code for how to read coordinates of the center and set a new one. To access QML objects from within the program code, we are using their “names” specified in objectName and working through the QQuickItem interface.
auto map_view = _qml_view->rootObject()->findChild<QQuickItem*>("mapView");

auto coordinates = map_view->property("center").value<QGeoCoordinate>();

coordinates.setLatitude(coordinates.latitude() + 0.02);

map_view->setProperty("center", QVariant::fromValue<QGeoCoordinate>(coordinates));
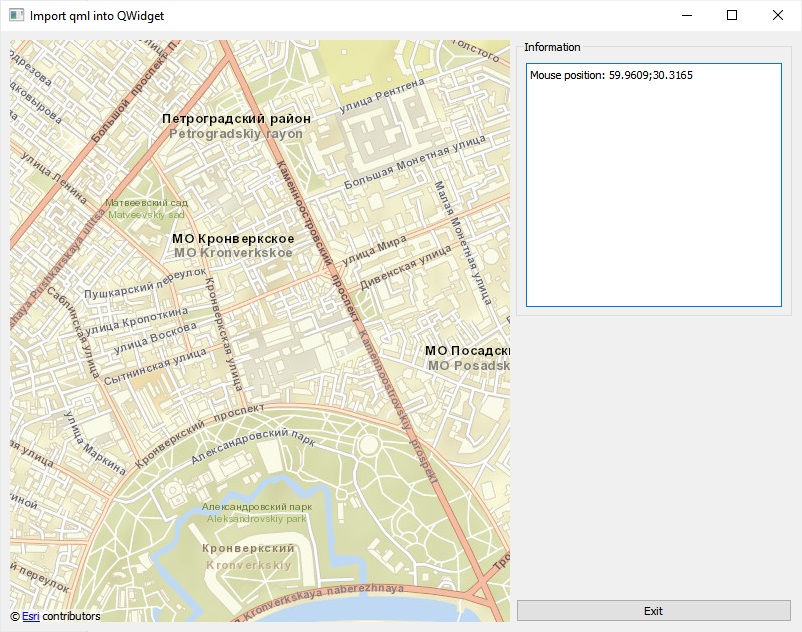
We can call functions described in QML. Let’s show this by using an example of getting the mouse cursor coordinates.
To get the coordinates, we add a structure and a method to QML:
MouseArea {

id: mapViewMouseArea

anchors.fill: parent

propagateComposedEvents: true

hoverEnabled: true

}


function getMousePosition() {

return mapView.toCoordinate(Qt.point(mapViewMouseArea.mouseX, mapViewMouseArea.mouseY));

}
To call getMousePosition in C++, we use QMetaObject::invokeMethod:
std::tuple<float, float> MainWindow::getMouseCoordinates()

{

auto map_view = _qml_view->rootObject()->findChild<QQuickItem*>("mapView");

QVariant result;

bool invoke_result = QMetaObject::invokeMethod(map_view, "getMousePosition", Qt::DirectConnection, Q_RETURN_ARG(QVariant, result));

if(!invoke_result)

std::make_tuple(0.f, 0.f);

QGeoCoordinate coordinates = result.value<QGeoCoordinate>();

return std::make_tuple(coordinates.latitude(), coordinates.longitude());

}
Now we are going to demonstrate how to transfer data from QML to QWidgets. For this, we have added a center change event to QML, and we are calling a method of some object in it:
onCenterChanged: {

qmlReceiver.centerChanged(center);

}
We can describe the object in the “.cpp” file and link it to QML:
class QMLReceiver : public QObject

{

private:

Q_OBJECT


public:

Q_INVOKABLE void centerChanged(QGeoCoordinate coordinate)

{

emit centerChangedSignal(coordinate.latitude(), coordinate.longitude());

}


signals:

void centerChangedSignal(float lat, float lon);

};


_qml_receiver = new QMLReceiver();

_qml_view->rootContext()->setContextProperty("qmlReceiver", _qml_receiver);

QObject::connect(_qml_receiver, &QMLReceiver::centerChangedSignal, this, &MainWindow::onCenterChanged);
Pay attention to the definition of the method called from within QML and objects binding via setContextProperty.
Now let’s switch to the most interesting thing, that is, the placement of objects on the map.
To display objects on the map, we utilize the Model-View concept. Let’s add this to the Map object:
MapItemView {

model: markerModel

delegate: mapComponent

}
Where markerModel is a С++ class of the MarkerModel final : public QAbstractListModel class, connected to QML in the same way as the event listener earlier _qml_view->rootContext()->setContextProperty(“markerModel”, _model). With this, mapComponent is described as follows:
Component {

id: mapComponent


MapQuickItem

{

id: marker

anchorPoint.x: image.width/2

anchorPoint.y: image.height

coordinate: positionValue


property string identifier: identifierValue

property string name: nameValue

property string icon: iconValue


sourceItem: Image {

id: image

source: icon;

}


MouseArea {

id: mouseArea

anchors.fill: parent

hoverEnabled: true

drag.target: parent


onClicked: {

qmlReceiver.markerClicked(identifier, name, coordinate);

}

}

}
Here you can see customizable properties holding data that we need to associate with our model:
- positionValue, where the coordinates of the object are taken from;
- identifierValue and nameValue, allowing us to identify the object;
- iconValue, where the object’s icon is located.
This is how we have linked the properties to the model:
enum MarkerRoles

{

positionRole = Qt::UserRole + 1,

identifierRole = Qt::UserRole + 2,

nameRole = Qt::UserRole + 3,

iconRole = Qt::UserRole + 4,

};


QHash<int, QByteArray> MarkerModel::roleNames() const

{

QHash<int, QByteArray> roles;

roles[positionRole] = "positionValue";

roles[identifierRole] = "identifierValue";

roles[nameRole] = "nameValue";

roles[iconRole] = "iconValue";

return roles;

}


QVariant MarkerModel::data(const QModelIndex& index, int role) const

{

if(index.row() < 0 ||

index.row() >= _markers.count())

return QVariant();

if (role == MarkerModel::positionRole)

return QVariant::fromValue(_markers[index.row()]._position);

else if (role == MarkerModel::identifierRole)

return QVariant::fromValue(_markers[index.row()]._identifier);

else if (role == MarkerModel::nameRole)

return QVariant::fromValue(_markers[index.row()]._name);

else if(role == MarkerModel::iconRole)

return QVariant::fromValue(_markers[index.row()]._icon);

return QVariant();

}
Where _markers is an array of markers with the required parameters.
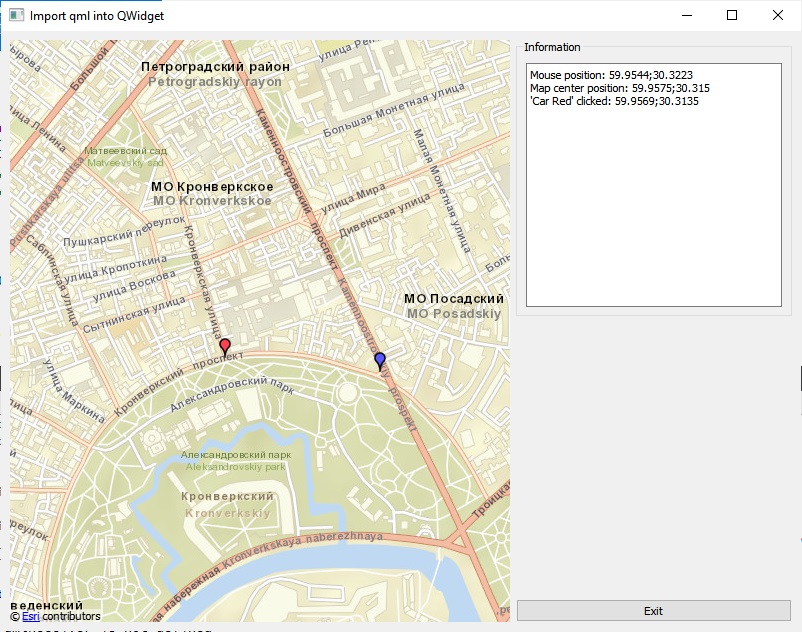
You can add or delete markers, move them across the map, request their parameters and receive responses from them (for example, on a mouse click). Our imagination is the only thing we are limited by.
What is important to mention: in our example we used icons from the Internet, but you can always use your local files. It should be remembered that you cannot use a file with the same name but different content. For the icon on the map to change, the file name must also be different.
You can download the source archive by clicking the link below.